How to Add Network Solutions to Outlook?

This technical write-up is drafted to guide users on migrating Network Solutions to Outlook. In this article, we will talk about both a manual solution and an automated tool to accomplish the task. We will share the method of how you can add network solutions account to Outlook manually and further we will share an automated tool as well. So, let’s dive into the article.
Email communication is an integral part of life, be it for personal or professional use, It has carved its special place in our lives. Thus, applications like Network Solutions are one of the most trusted and also one of the oldest. Network Solutions Email provides services related to website development such as web hosting, domain registration, website builders, marketing and design. Despite these features, users look to export Network Solutions to Outlook.
Furthermore, there are numerous reasons to add network solutions to Outlook. As we all know, Outlook is a well-known email client by Microsoft. It is packed with tons of features which is why users want to export Network Solutions to Outlook. In addition, there are multiple other reasons for migrating Network Solutions to Outlook.
Why Add Network Solutions to Outlook?
- Outlook is seamlessly integrated with other Microsoft productivity applications which improve productivity
- It is loaded with upgraded and enhanced security so you can be sure about the safety of your data
- It is an incredibly feature-rich email client which is why it has around 500 million users
All these and more are the reasons why it is absolutely safe and reliable to migrate Network Solutions to Outlook. Now, let’s move on to the approaches required to accomplish the task.
Manually Configure Network Solutions Email Settings for Outlook
This segment contains a manual approach to accomplishing the task. Here, we will configure Network Solutions email settings for Outlook to start the migration process. Below here are the detailed steps for you to follow. Make sure to implement extreme caution while executing these steps as one single error may lead to data loss. Thus, to avoid that, be cautious while following these steps. Here is how to execute the method manually.
- Open your Outlook application and click on the “File” tab.
- Next, click on the “Add Account” option under the “Account Information” section.
- Now, select “Manual setup or additional server types” and click on “Next”.
- Then, choose either “POP” or “IMAP” and click on “Next”.
- Enter your name and Network Solutions email address in the respective fields.
- Select the “IMAP” as your account type.
- In “Incoming mail server” field, enter “imap.networksolutionsemail.com”.
- Then, in the “Outgoing mail server” field, enter “smtp.networksolutionsemail.com”.
- Enter your full email address and password in the respective fields.
- Click on “More Settings” and then, select the “Outgoing Server” tab.
- Check the box that says “My outgoing server (SMTP) requires authentication”.
- Select the “Use the same settings as my incoming mail server” option.
- Go to the “Advanced” tab and set the following settings:
- Incoming server (IMAP): 993
- Outgoing server (SMTP): 587
- Use the following type of encrypted connection: SSL for Incoming server (IMAP) and TLS for Outgoing server (SMTP)
- Click “OK” to save the settings and then click “Next” to complete the setup process.
- Upon executing the above steps, your Network Solutions email settings for Outlook should now be set up in Outlook and ready to use.
So these are the steps to accomplish the task with a manual approach. As you can see it is quite lengthy and contains a lot of steps. In addition, this method involves a lot of steps which makes this whole process extremely time-taking. Not just this but this method also has other drawbacks as well.
Drawbacks of the Manual Method
- It is tedious and time-consuming which is a major setback in this fast-paced world
- This method must be executed with extreme caution as one single human error may lead to data corruption or data loss
- This method requires users to be technically adept, in case you are not, then it could be harder for you to execute this method
All these hindrances limit the procedure from working in the user’s favor and providing desired results. Then what could be done instead of this method? Well, for that, check out the next segment.
Professional Approach to Add Network Solutions to Outlook
For the automated method, we have brought you the one and only expert-recommended tool; DataSkorpio IMAP Backup Tool. This incredible software is certified and liked by multiple technical professionals because of its high reliability and the security it provides to data during the process. Moreover, this utility packs in tonnes of features that contribute to improving its overall functionality and ability to deliver user-desired results.
Prominent Features of this Utility
- Provides the option to directly migrate emails to any IMAP-compliant platform
- Is capable to migrate emails along with other attributes such as attachments and contacts
- Option to proficiently configure and add your IMAP account to the software
- Has an interactive and feature-rich graphical user interface
- Is greatly compatible with all the versions of the Windows Operating System
All these features make it a power-packed utility to add Network Solutions to Outlook in an easy and efficient way. Furthermore, let’s check out the steps required to use this software.
Steps to Use the Utility
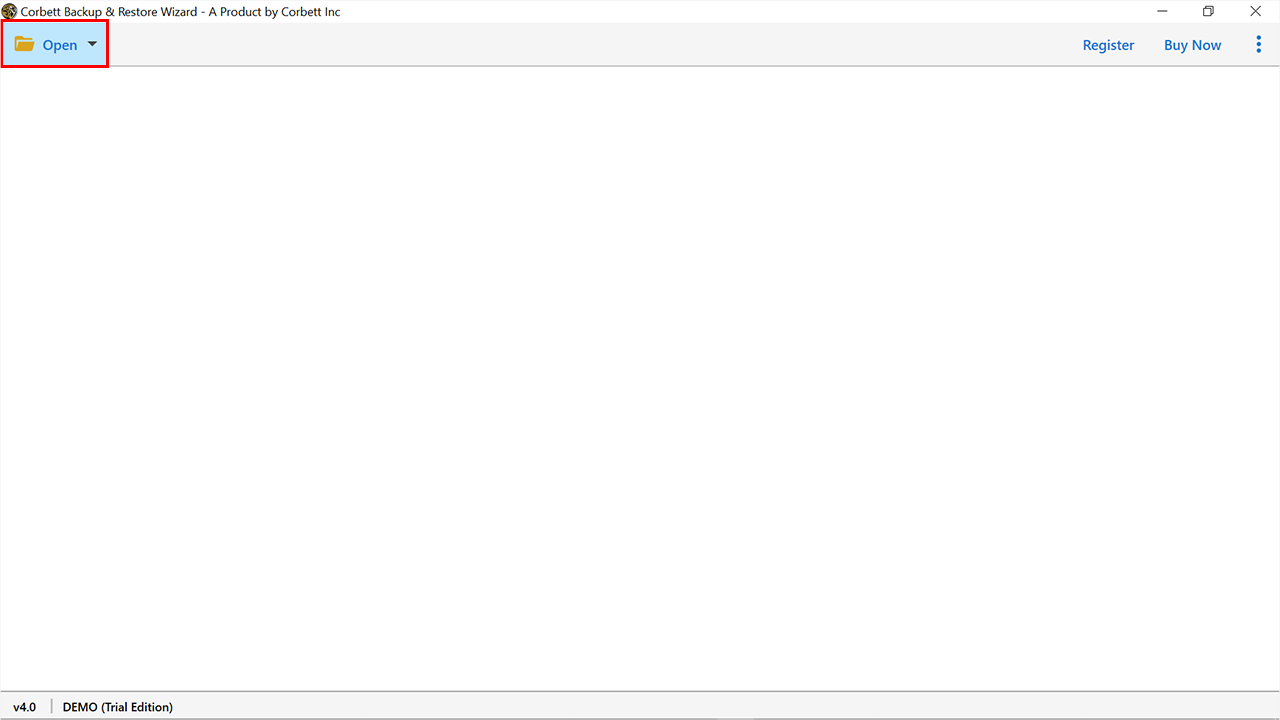
- Install and launch the software on your device and proceed to click on the Open button in the top left corner
- Then, in the dropdown menu that appeared, click on Email Accounts >> Add Account
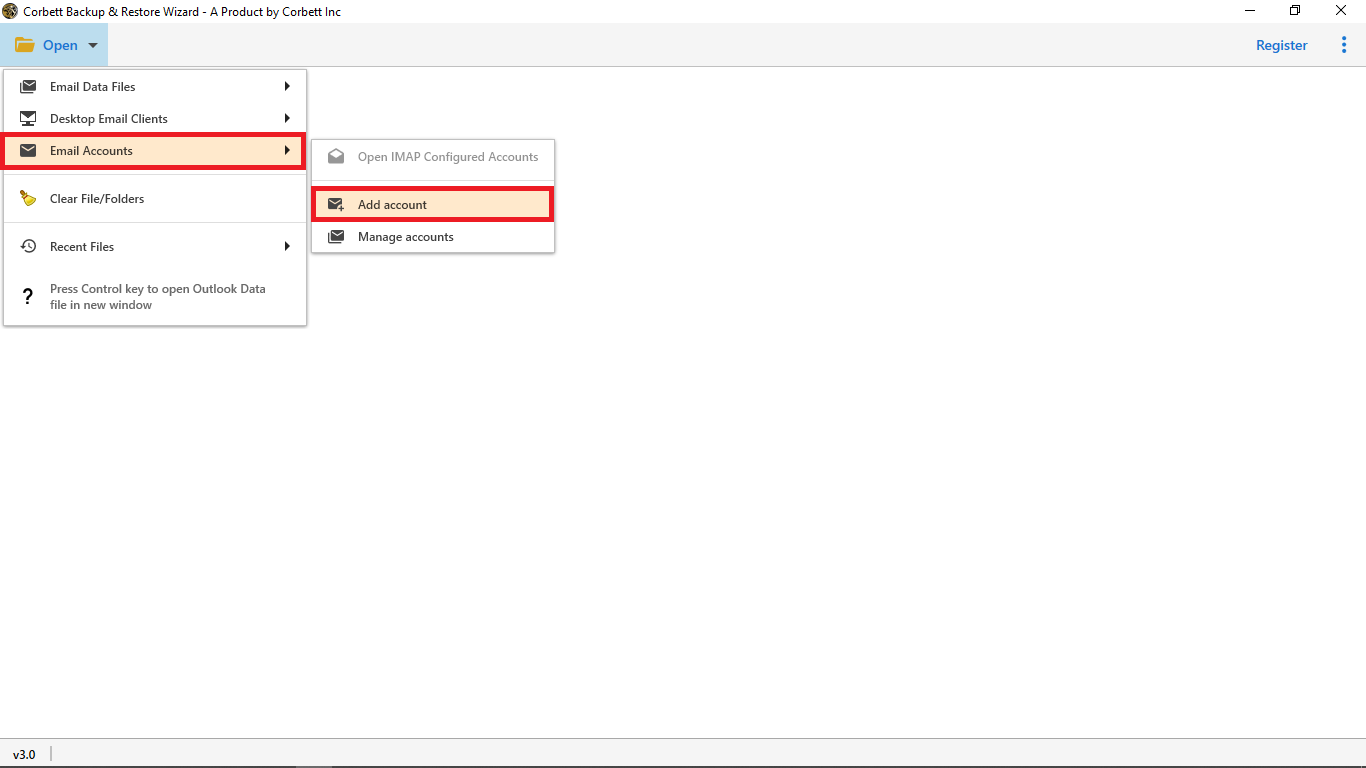
- Then, add your account to the utility by adding valid credentials of your IMAP account to add Network Solutions to Outlook
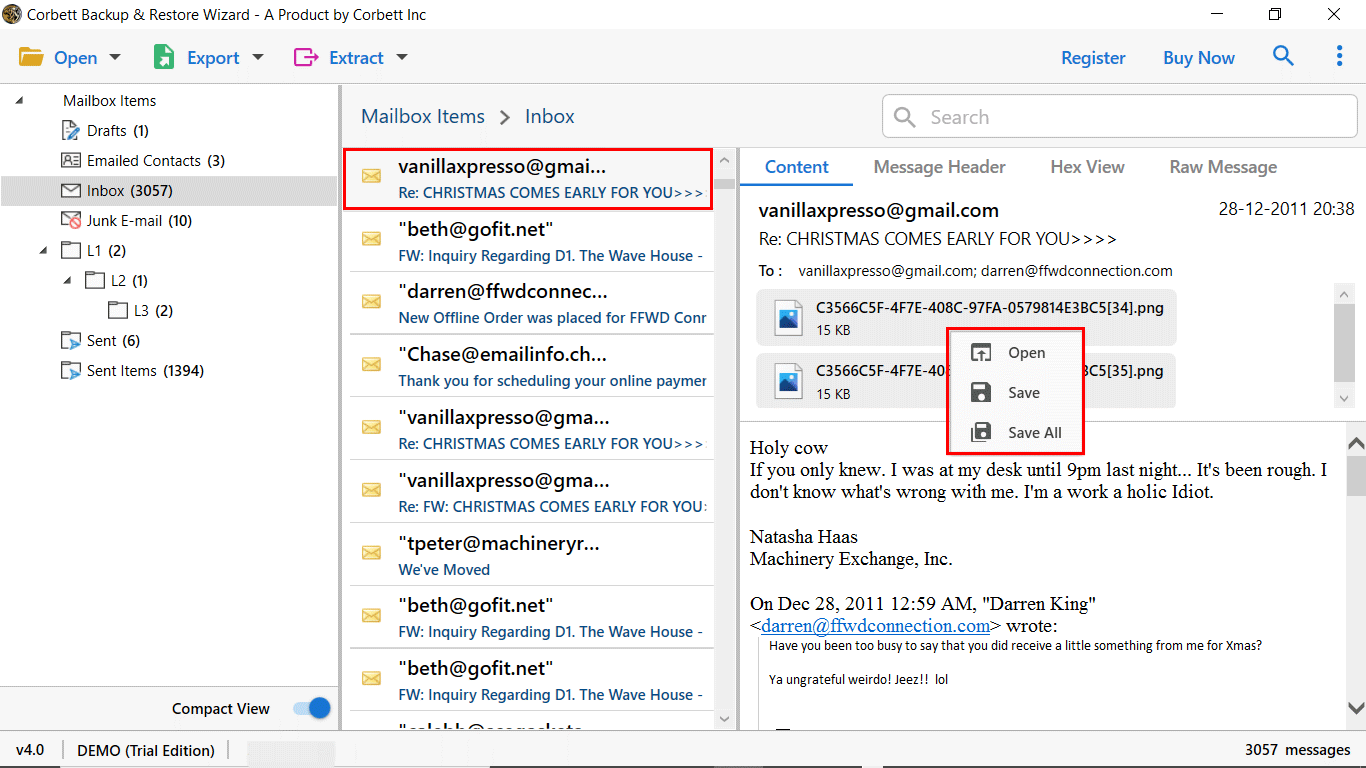
- Upon doing that, the software will generate a preview of all your IMAP data. There, you can preview your data in any of the given modes provided
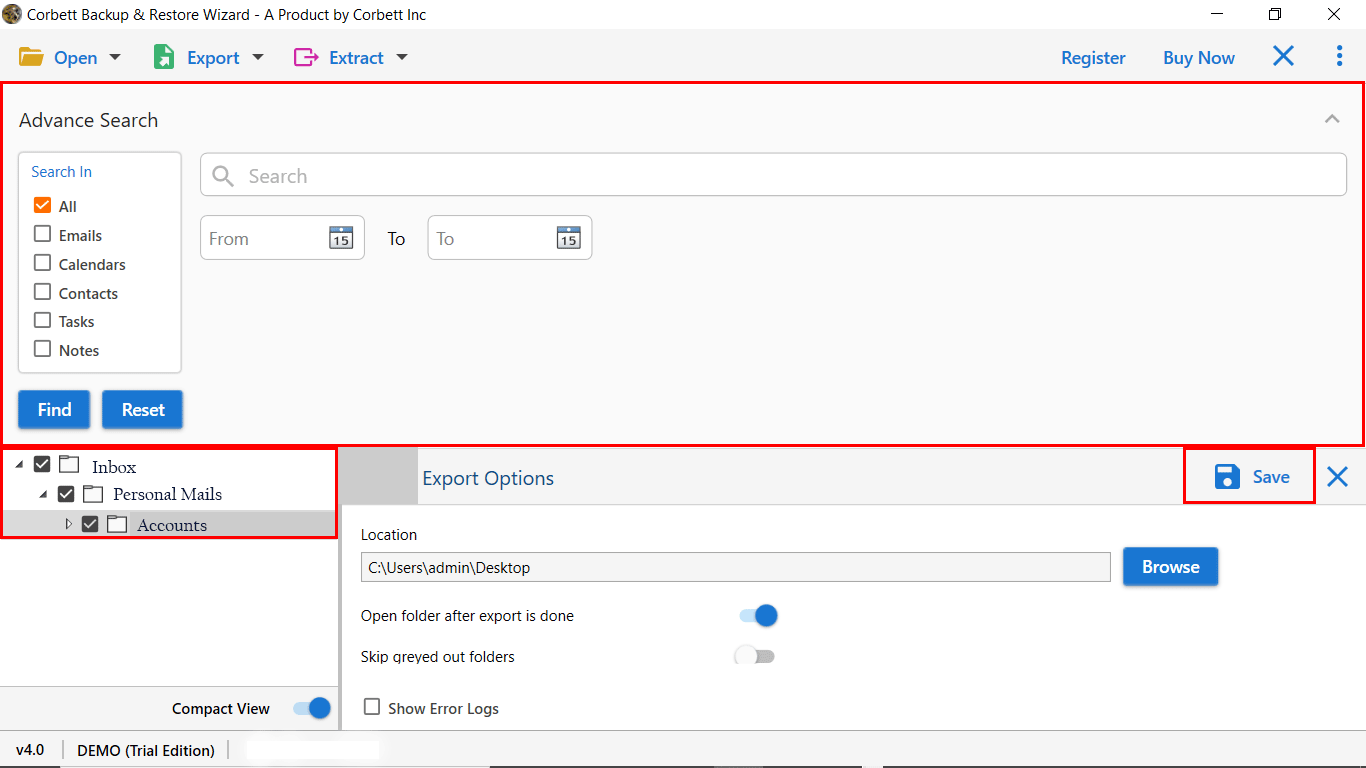
- Next, use Quick Search or Advanced Search Settings to filter through your data
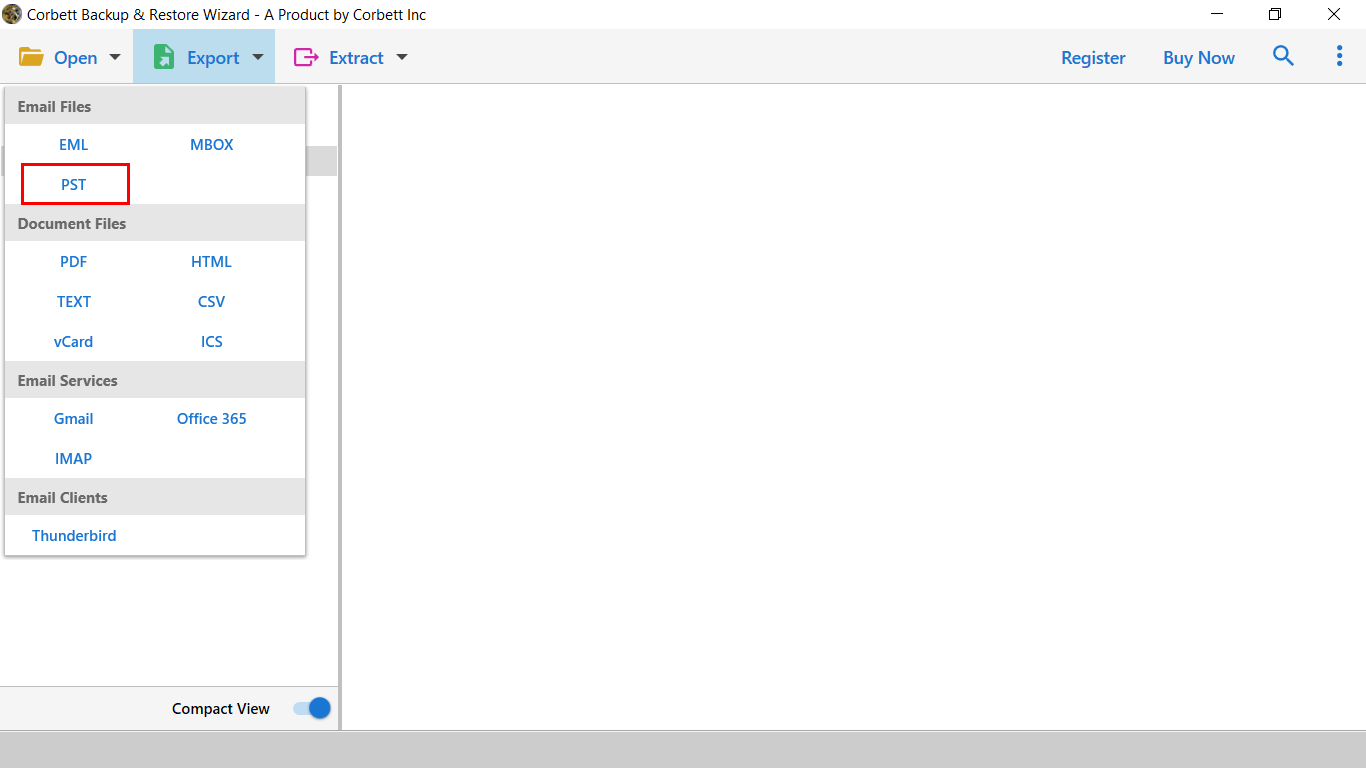
- Then, click on the Export tab and select the PST option from the appeared menu
- Lastly, use the desired advanced options provided and hit the Save button to add Network Solutions to Outlook
So, these are the simple and quick steps to execute the process of adding Network Solutions to Outlook. Follow them and achieve the desired results in a secure and reliable manner.
Final Words
This article on “Add Network Solutions to Outlook” discussed the various solutions you can opt for to accomplish the task. Here, we shared both the manual and automated solutions for you. While the manual method configures Network Solutions email settings for Outlook, it is not a favorable method of both technical experts and most users. That is due to its tedious and technical nature. Hence, technical professionals suggest users go for the above-mentioned automated utility to perform the task in a secure and reliable manner.
Read More: Learn to Export Zimbra Mailbox to Outlook